
3D printing has been around for longer than most people think - the first 3D print was made in 1981 by Hideo Kodama. But 3D printing has come a long way since then, with prints being made at resolutions as low as two-hundredths of a millimeter. 3D printing is an innovative method of production: a three-dimensional object is visualized in detail using computer software, the data is sent to a 3D printer, and the printer creates it. Almost all consumer printers can only print in plastic, but that won’t be true much longer.
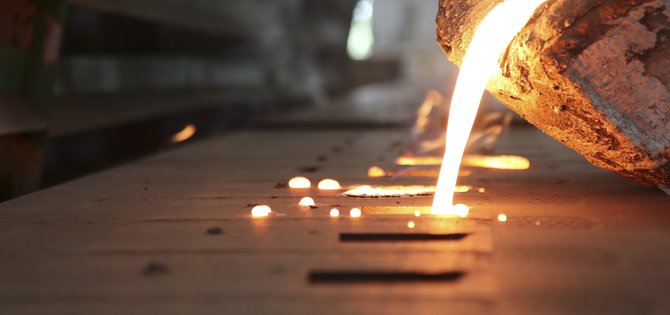
Today’s metal fabrication processes involves both a huge amount of energy and a substantial amount of waste: in the manufacture of some products, up to 90% of the metal used is cut away. This involves excessive use of energy as well as metal, besides making the finished product up to 60% heavier than it needs to be, the latter being an expensive handicap in the aviation industry, for instance.
3D printing, in contrast, uses almost precisely as much material as is present in the actual object, bringing wastage down to nothing whatsoever. But all this didn’t count until now, because of the huge limiting factor that 3D printers could only work in plastic. But now, several companies across the world are designing 3D printers that print in metal instead of plastic.
How Does It Work?
Conventional printers work by melting plastic and then depositing it, but obviously metal has much too high a melting point for this kind of procedure.
So metal printing companies created several different approaches. Only two of them are widely used. The first one is called binder jetting. Binder jetting is more than ten times as material-efficient as other metal printing techniques.
Binder Jetting
The following are the steps involved in a binder jetting print process:
- The build chamber is filled with an inert gas like argon to prevent oxidation of the metal
- A layer of metal powder is spread at about 20 to 50 microns thickness, varying with the flow properties, the particle size width and shape of the metal particles
- A polymer compound is now automatically sprayed on specific regions of the metal corresponding to the 3D outline of the component, to create a layer
- The process is now repeated to create another layer, and so on till the object is completed
- The excess powder is collected and reutilized after filtering and refreshing with added unused powder
- The component is separated from the build chamber using one of several techniques, and any required post-processing is performed
- The printed component is typically accurate to within ± 0.1 mm
Once the build is completed and the object separated from the build plate, it is a “green” 3D printed metal object, which has poor mechanical strength and high porosity. This is treated in one of two ways:
Sintering: It is placed in a furnace that uses both conventional heating elements and microwave technology to heat the object to temperatures up to 1400 degrees Celsius. It gets heated to just below the melting point of the metal - but far above the melting point of the polymer. The polymer ignites and burns away, and the intense heat binds the metal molecules to fill the microscopic holes in a process called “sintering”. This results in 97% of the pores being filled.
Infiltration: It is placed in a furnace to burn out the binder, which leaves about 60% of it as voids. It is then infiltrated with bronze to fill the voids produced by the burning out of the polymer, making it much stronger and much less porous (pores are reduced by 90%).
Shrinkage is an issue with binder jetting 3D metal printing and can affect not just the accuracy of the dimensions of the final product but, because it occurs in the high temperatures of the furnace, may lead to warping and deformation due to softening of the metal. This is compensated for by the initial design and by skilful operation of the machine.
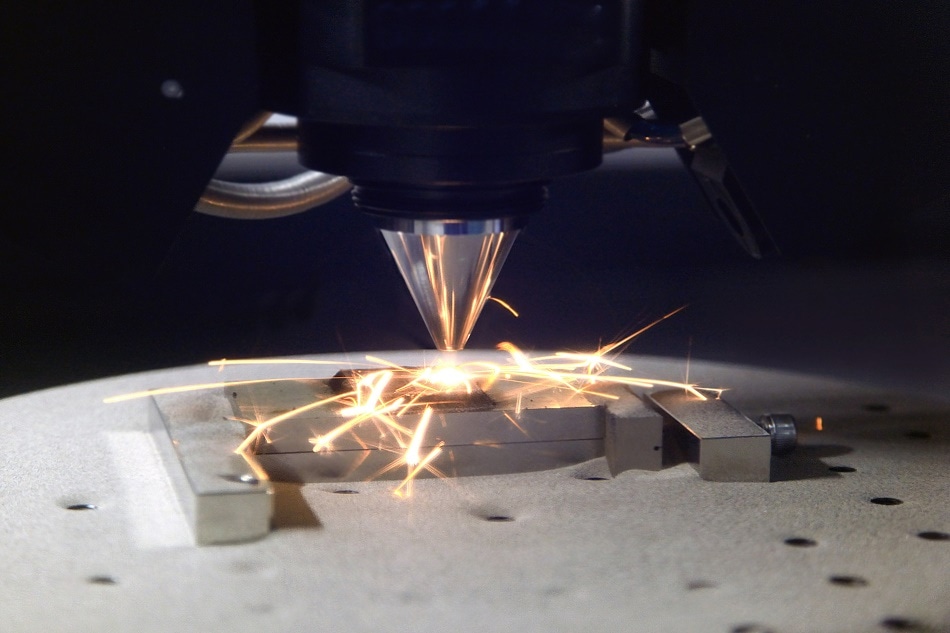
Selective Laser Melting
The other main technique is selective laser melting, or SLM. It’s a little different from binder jetting:
- The build chamber is filled with inert gas
- A thin layer of metal powder is spread on the floor
- A laser is used to fuse the powder together as it scans the powder in the cross-sectional area of the object, to create one solid layer of the object
- The platform moves downwards by 50 to 200 microns, and a second layer of metal powder is spread using a recoater
- The laser scans and fuses the metal in this layer too to build the component up by one more layer
- Repeat until the object is complete
- Collect the excess powder for filtering and mixture with fresh powder for reuse
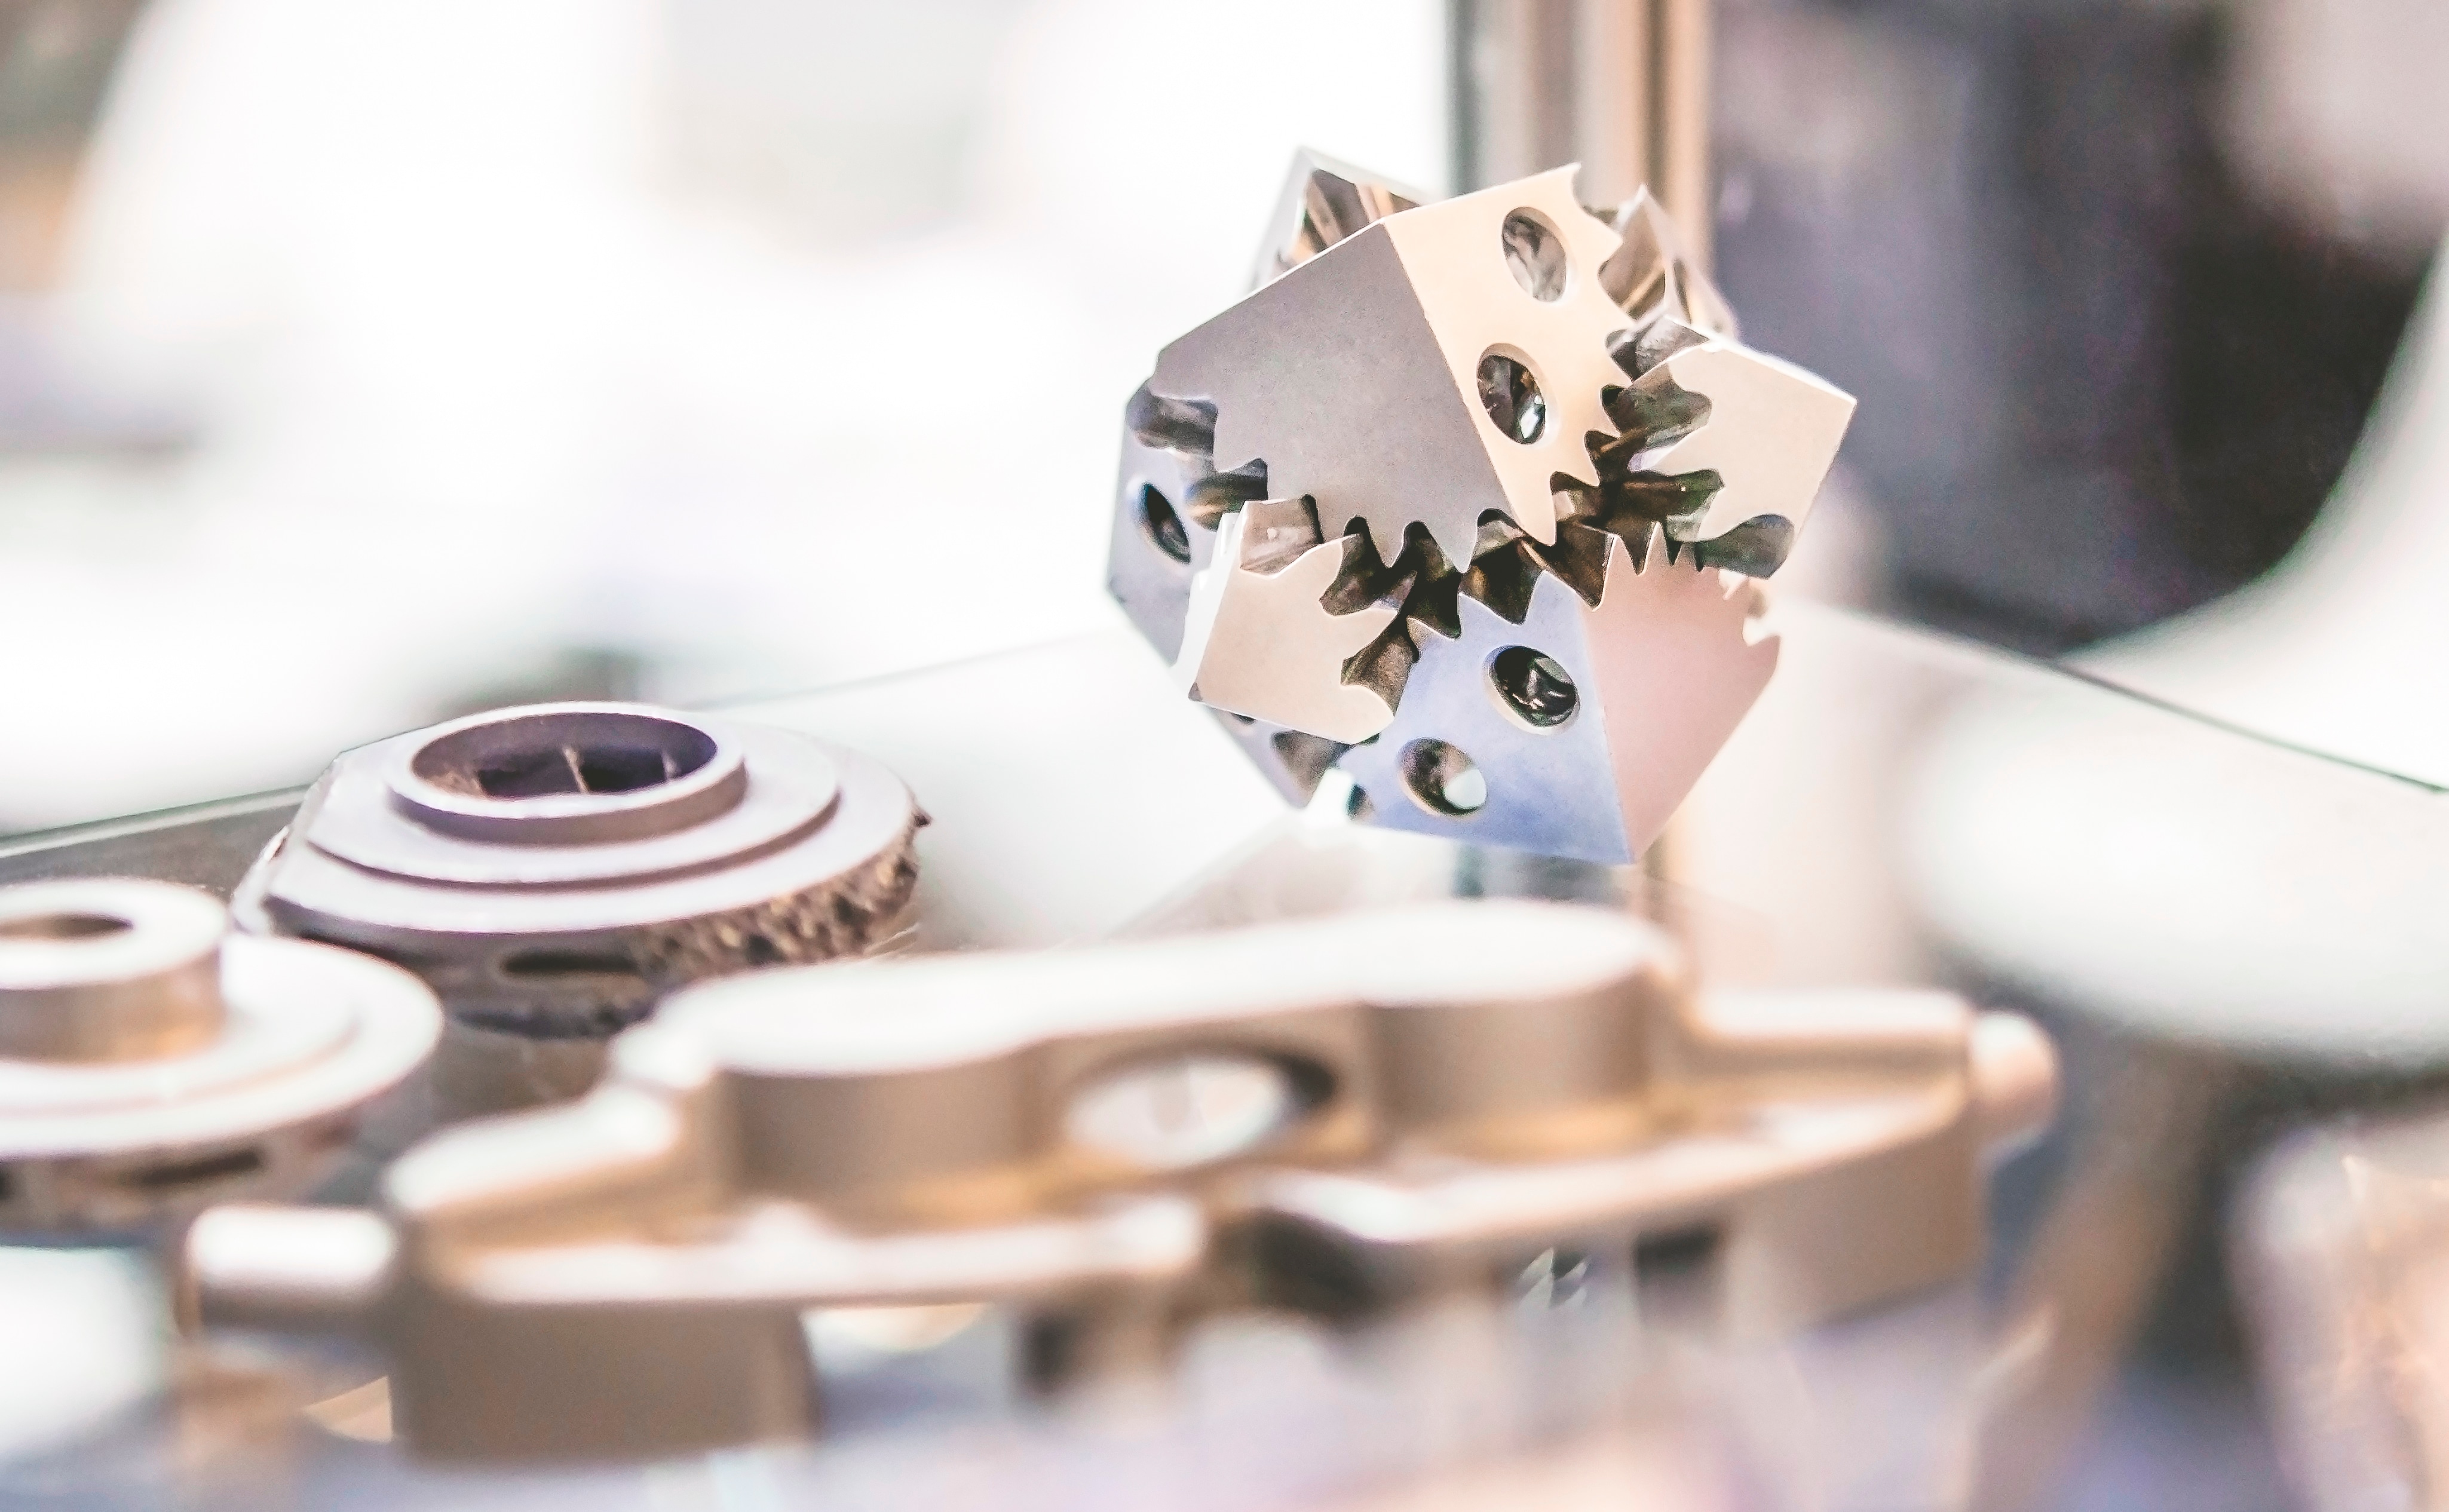
Since SLM actually melts the metal together to form the object, the heating and sintering process is not required. The final product has much higher mechanical strength which means this is the method of choice in components where mechanical properties such as metal fatigue, elongation at break and elastic modulus are critical.
The metal powder is reused in both techniques, which minimizes waste to less than 5%.
Almost all of the operating parameters of a metal printer are set by the manufacturer - there’s really not much the user has to do other than send the machine the file and wait. Most metal printers have a layer height of 20 to 50 microns, or about half the width of a human hair.
Why are Support Structures Used?
Support structures are always required in SLM metal printing, due to the very high processing temperature, and they are usually built using a lattice pattern. The support structure consists of pieces added in by the printer to support the main object and to prevent warping as it cools.
The role of support structures is crucial in this type of 3D printing, as they not only give a platform for each layer but prevent metal warping at high temperature. They attach the component to the build plate, and also draw heat away in a safe direction to cool it down faster and in a controlled manner.
The parts are usually angled to reduce the odds of warping and to increase the strength of the component in key directions, but this again pushes up the metal and support requirement as well as the time taken and therefore, for all these reasons, the cost.
Another solution to the question of warping is to use randomized patterns to scan the metal so that no one direction is subject to residual stress accumulation.
Post-Processing
Once a metal 3D component has been built, the build chamber is typically removed, the printed part taken off the build platform, and cleaned of excess powder by compressed air jets or a media blaster. This takes little time and gives a consistent finish quality to the printed objects.
Can I Do It?
Metal has many benefits over plastic - strength, high melting point, and flexibility are just a few of them. But 3D printing has always been expensive, and metal printing is superlatively so, with prices up to $800,000. This technology is not aimed at consumers - at least, not yet. All the companies that have created viable metal print options are focusing exclusively on prototyping for businesses. So if you were hoping to 3D print yourself a custom-made Darth Vader helmet, you’re out of luck, pal. Or maybe not - you can’t print pure metal with an ordinary printer, but several companies are offering filament made of a blend of metal and plastic - enough plastic so that an ordinary 3D printer can melt it, but enough metal to give it the “metal” look and feel.
Conclusion
Metal printing is a relatively new technique based on an existing technology. It has proved to be invaluable in the prototyping process, but its high cost is the factor that prevents it from being used widely. Other limiting factors include the relative lack of accuracy on the small scale, and high cost of parts. We can expect, however, that this will be gradually resolved as technology advances. In conclusion, this is a good thing that’s worth waiting for.
Source: www.azom.com
×