The casting industry faces many challenges when machining blanks of cast and forged parts so that the parts meet customer requirements. To ensure the highest quality, the parts must be subjected to regular testing and inspection.
With optical portable or automated 3D metrology solutions, foundries and casting manufacturers get a fast, portable, accurate and versatile instrument for measuring, testing and validating cast parts during the iterative processes of product development, as well as quality control and maintenance. In addition, with the color map function, they can quickly identify the discrepancies between a casting and its CAD file. The measurement and analysis software shows the results in a clear and intuitive way, which makes analysis easier. In contrast to touch testing, 3D scanning shows the overall view of the inspected part and measures surface profiles, and not just individual points.
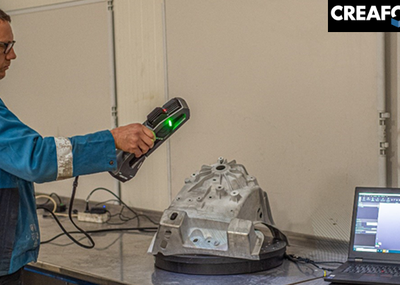
Portable 3D-Scanners
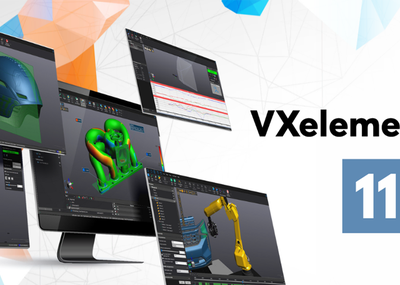
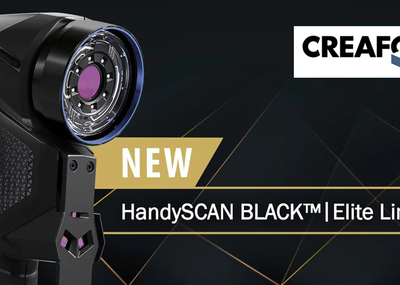
With the portable 3D scanners Go!SCAN SPARK, HandySCAN BLACK and MetraSCAN BLACK, as well as the 3D measurement software platform VXelements, Creaform provides a complete tool for precise measurements directly in the production environment.
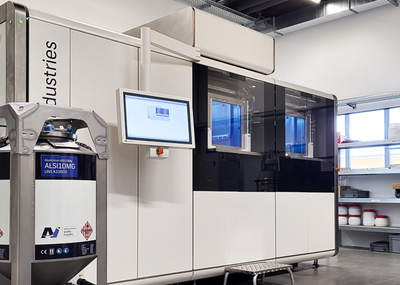
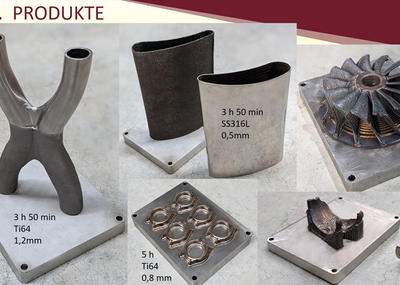
Lincoln Electric Additive needed a way to measure large parts quickly and accurately without having to move the parts to measure them. To meet this need, Lincoln Electric opted for Creaform’s MetraSCAN 3D, the fastest and most accurate 3D scanner for shop floor environments.
“What makes the MetraSCAN 3D so great is that it’s a non-contact solution. No targets are required. We can verify dimensional quality at any time during the production process, even in mid-print when the parts are too hot to touch,” said Brad Barnhart, Additive Engineer at Lincoln Electric. 3D scanning times are reduced significantly because technicians don’t have to wait for the parts to cool down.
Automated Quality Control Solutions
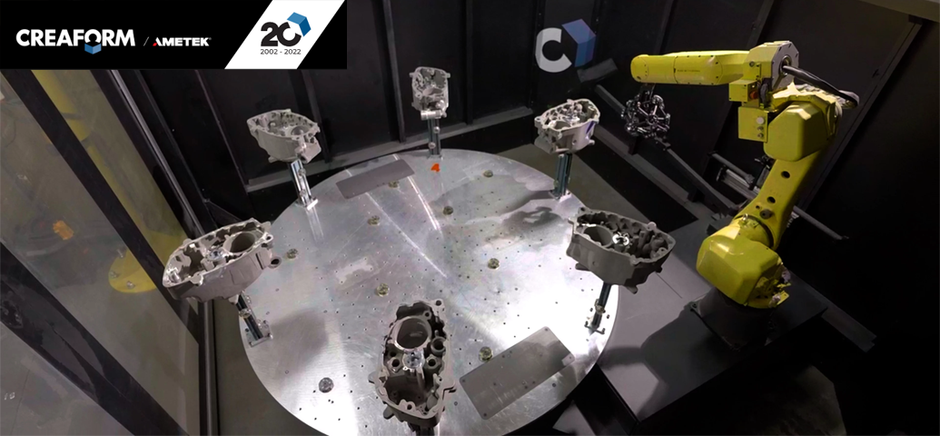
The company Consolidated Precision Products (CPP) has chosen the industrial measuring cell CUBE-R from Creaform to carry out automated quality assurance tests on sand castings. The CUBE-R was developed for integration in production environments for testing on the production line and is offered either as a turnkey or fully customizable solution. It can automate the acquisition of 3D measurements without sacrificing accuracy - regardless of the number of assessments to be performed.
“This system is perfect for scanning different sizes of castings. By using the optical tracker with dynamic referencing, we can maintain the measurement accuracy even when the scanner and the part move,” explains Dash Tahiraj, Senior Manufacturing Engineer at CPP.
GIFA: Hall 13, Booth 28

