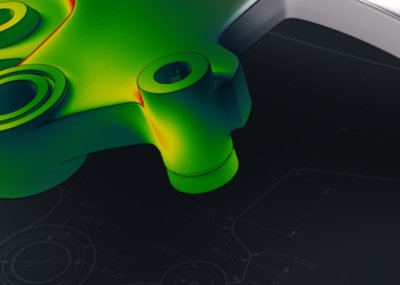
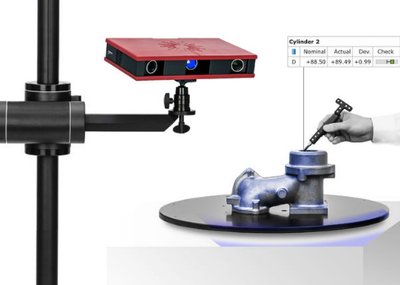
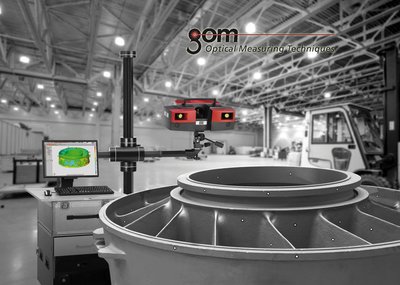
When it comes to product quality assurance and process optimization, many companies rely on GOM’s optical 3D measuring systems. The application fields of 3D metrology range from the automotive, forming, plastics and casting industries to the aerospace industry. Combining high-tech electronics and optics with robust design and powerful software, ATOS systems are at the forefront when it comes to high-precision measuring results.
Proven Reliability and Speed
For its latest development, ATOS Q, GOM is again relying on the proven functions of the ATOS measuring systems. The ATOS design comes with protected optics and electronics, making the sensor resistant for measuring tasks in harsh industrial environments. The new product incorporates proven ATOS technology features such as the Triple Scan Principle, the Blue Light Equalizer and precise calibration as a self-monitoring system with active temperature management. Its high performance makes the compact new scanner a top performer: the fringe projection required for precise measurements is performed at high speed and the integrated fiber optic cables enable rapid data transmission and high data throughput. Like all the other ATOS 3D scanners, the compact system meets high metrological requirements and is provided with the latest inspection software GOM Inspect Suite.
Compact and Flexible in Use
With its compact dimensions of 340 mm x 240 mm x 83 mm and a weight of less than 4 kg, the ATOS Q scanner is mobile and flexible in use. The operator can use the 3D scanner exactly where the measuring task is to be performed – in the measuring room or directly in the production hall. The ATOS Q scanner can be operated manually on a tripod, semi-automated or even fully automated in combination with ATOS ScanBox 4105, where it achieves its maximum efficiency. The advantages of this automated solution are obvious: Series measurements can be carried out easily and quickly, the measuring results are reproducible and influences through user intervention are reduced.
Versatile With Interchangeable Lenses and Different Resolutions
ATOS Q covers a wide range of components in various industries. From small injection-molded parts, molds and tools to complex additive manufactured components, it digitizes the entire surface of small to medium-sized measuring objects in 3D. With five different, interchangeable lenses, the system achieves measuring areas from 100 x 70 mm2 to 500 x 370 mm2. Changing from the smallest to the largest measuring volume is easy thanks to the fixed camera position.
To meet the different measurement requirements, ATOS Q is available in two versions with different camera resolutions: 12 M and 8 M, which means the first sensor captures up to 2 × 12 million and the second 2 x 8 million coordinate points during scanning. The accuracy, resolution and the measuring area can be freely defined.
The ATOS Technology in Detail
The Triple Scan Principle integrated in the ATOS measuring systems facilitates the measurement of reflective surfaces and objects with undercuts. The Blue Light Technology projects precise fringe patterns onto the surface of the object, which are then recorded in a stereo camera setup by two cameras. The projection technology works with narrow-band blue light, which means that interfering ambient light can be filtered out during image acquisition. The Blue Light Equalizer increases the brightness of the light source and generates uniform, speckle-free light. This allows short measuring times to be achieved even on non-cooperative surfaces.
For more information: www.gom.com


